Using "Save-Data" header with an Image CDN to improve UX Published on: Feb 17, 2021
We are happy to announce that we added support of “Save-Data” client hint in Pixboost and to celebrate we decided to write a blog about it!
The internet was created more than 30 years ago and has been getting faster and faster ever since. Every 2-3 years, mobile and home networks see an advancement in technologies and standards. More recently, the 5G rollout has gained traction in the mobile space, as Mesh WiFi and fibre make their way into homes. However, internet speeds are still slow in a lot of cases.
I’m from Australia where we have the National Broadband Network (NBN) that covers the entire continent, including rural areas. It is a great government initiative especially since there were plenty of ADSL lines and no internet in distant places.
My speed is currently at 54Mbps, but it’s not always this good, especially during peak hours. And if we are talking mobile networks, you may still experience 3G in places not that far from the cities. I’m 20kms away from the Melbourne CBD and still occasionally getting 3G in some areas.
Furthermore, the websites we use now are very different from what we had 10 years ago. Many of them have a lot of media and interactive content, usually under the assumption that users have a good internet connection.
In this article, I’ll show a relatively new feature on the Web called “Save-Data” client hint and how you can use it to provide a better user experience for those with a sub-par connection. We shall start with a quick overview then show how developers can leverage this feature and how Pixboost Image CDN can streamline the process. Let’s dive in:
Save-Data mode
The Web community created a special “Save-Data” mode for browsers. This mode could be turned on manually in the browser’s settings or the browser could turn it on automatically for you when your network connection is slow or there is a connectivity glitch.
When the data saver mode is on, all HTTP requests that the browser sends will have a special “Save-Data: on” header. The flag is also available on the front-end side and can be accessed within JavaScript which makes it possible to provide custom experiences from both the front- and back-end systems.
If you want to enable Save-Data mode manually, you can use browsers plugins. For example, in Chrome, you could use this extension: https://chrome.google.com/webstore/detail/save-data-on/nholpkfnmjbinlhcfihkhiehdaohlibg. You will then see a new header being sent with each HTTP request:
The main intention of the feature is to provide a lightweight version of the page when a user has a slow Internet connection. So, what could that experience look like?
- Do not load non-critical media content. We can skip images that don’t have a big impact on comprehension of the content.
- Replace heavy media content with lightweight alternatives, e.g. replace video with an image.
- Reduce quality of the media content. This could be a good middle ground between showing and not showing content at all.
If you use the extension above and load this article in Data Saver mode then you’ll see that we are not loading the big hero banner of the article.
Now that we know what Save-Data is, let’s talk about how to use it.
Using Save-Data
As mentioned above, Save-Data flag is available on both the frontend and backend. Here are some examples of how we can access the flag from both sides:
If we want to check in our client-side javascript, then we can use the snippet below:
if ("connection" in navigator) {
    if (navigator.connection.saveData === true) {
        // Implement data saving operations here.
    }
}
On the backend, we need to check if the header “Save-Data” exists, and that its value is “on”. Currently, the only supported value is “on”, but it might change in the future so it’s important to check not only for the header’s existence, but also the value. Below is a snippet in golang to check on the header:
package main

import "http"

func HttpHandle(resp http.ResponseWriter, req *http.Request) {
    saveData = req.Header.Get("Save-Data")
    if saveData == "on" {
        // Implement data saving operations here.
    }
}
So, can we use this to achieve the goals we set at the beginning? One of the popular approaches is to add a special CSS class on your <body> element, which you can go on to use in your CSS selectors. For instance, if you use background images then you can pick and choose which one you’d like to load or not load at all:
.image {
    background-image: url("https://pixboost.com/image.png");
}

.save-data .image {
    background-image: url("https://pixboost.com/image-low-quality.png");
}

.not-important-image {
    background-image: url("https://pixboost.com/not-important-image.png");
}

.save-data .not-important-image {
    background-image: none;
}
If you use server-side to generate your markup, then you can use HTTP header and return different versions of the page. But don’t forget to add “Save-Data” into the “Vary” response header so Content Delivery networks (CDNs) will know its two different versions.
As you can see, it’s quite easy to start using the “Save-Data” header, but you still need to update your code. If you use an existing Content Management System (CMS) or platform like Shopify, then making those modifications may be hard or impossible.
Let’s see how Pixboost can help to minimize manual intervention:
Support of Save-Data in Pixboost Image CDN
At Pixboost, we support Save-Data header out of the box, and you don’t need to worry about it or do anything extra. When data saver mode is on, our Application Programming Interface (API) uses reduced quality to generate the images, so they are more lightweight and will load faster.
We’ll use this API call in all our examples below:
Let’s see what the image will look like with data saver turned on and off:
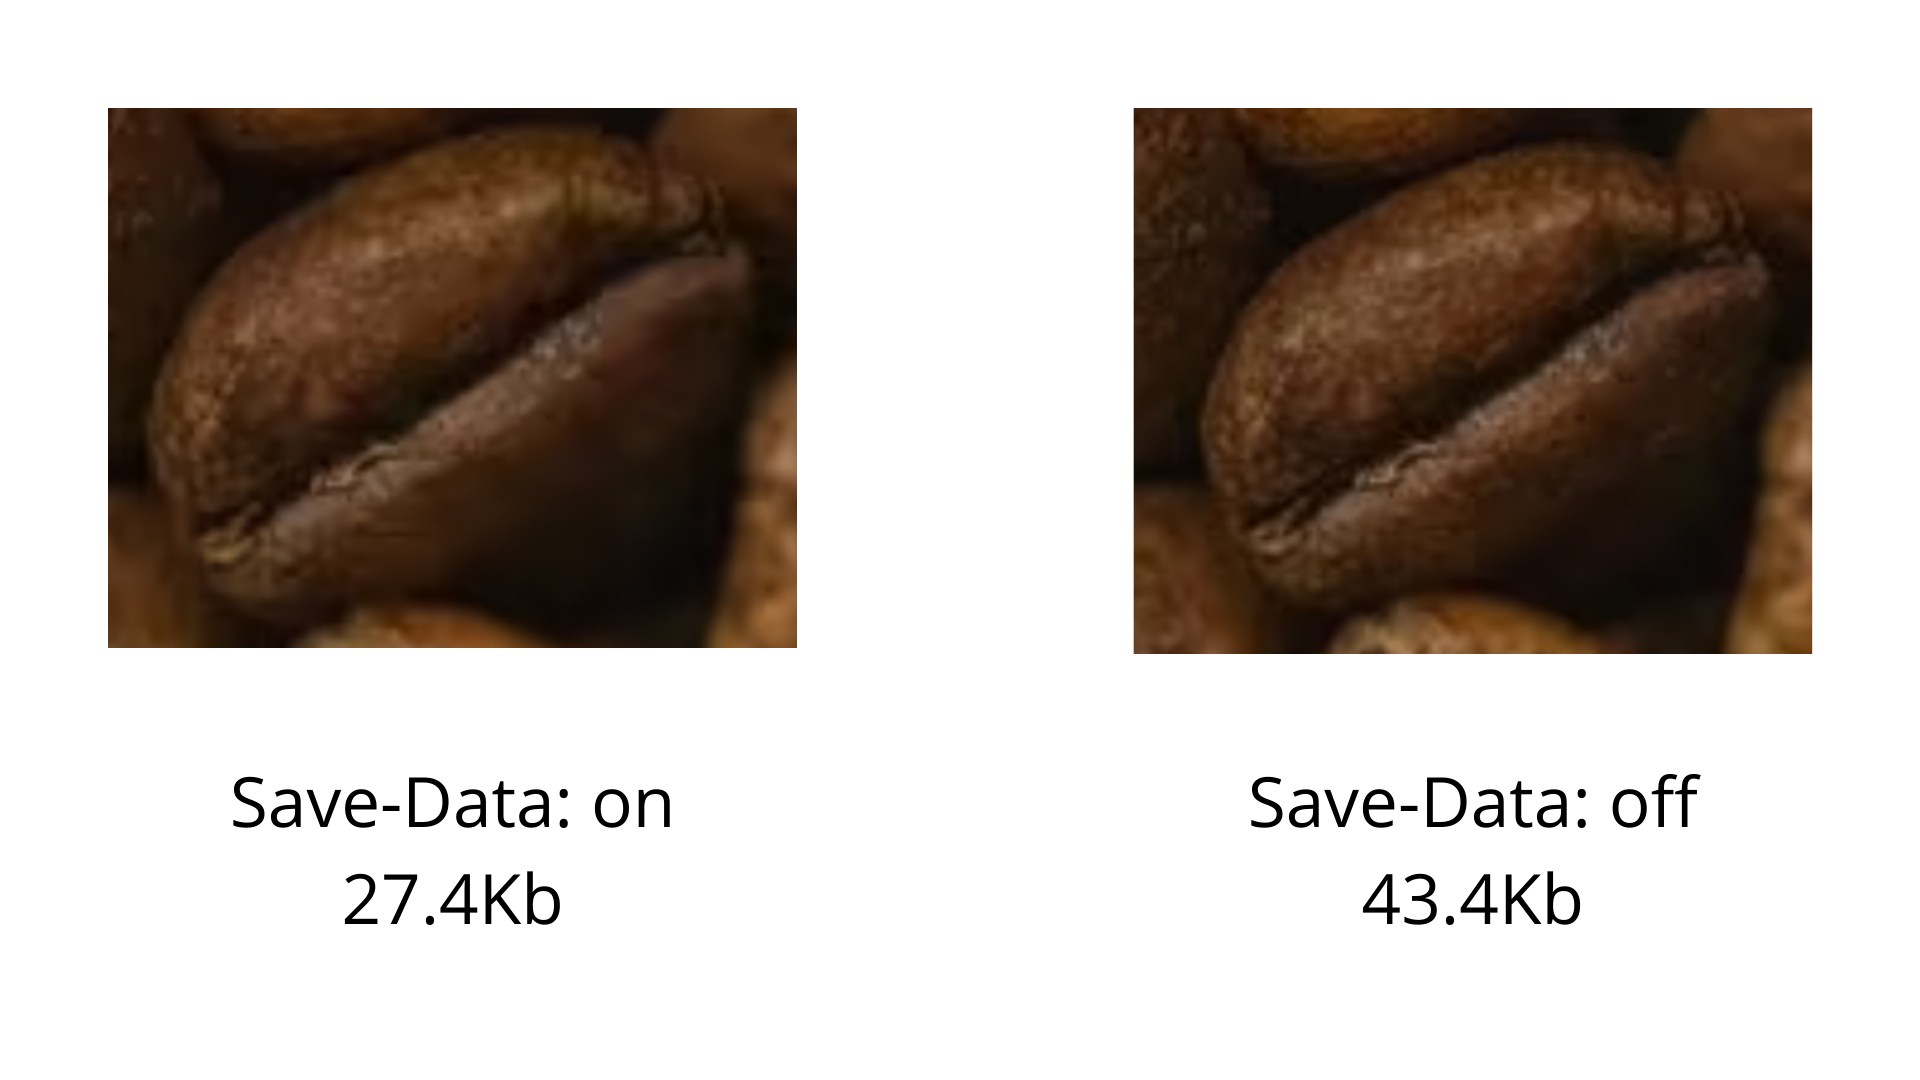
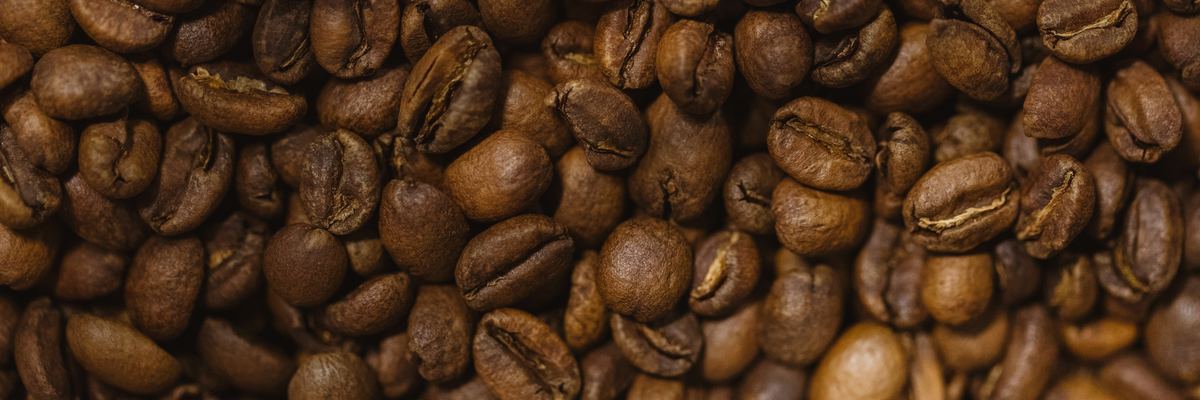
The image above is a snippet from the banner zoomed in to 250x.
As you can see, the image on the left is not as sharp, but we’ve just saved 50% of the bandwidth, which made the image load faster, so the user will see it before closing the browser in frustration.
However, images tend to be of varying significance for different web pages, which may affect the manner in which they are delivered. Pixboost Image CDN provides users with the ability to modify the Save-Data feature in order to achieve the desired mode of image representation.
We can break this down a little further using these two distinct scenarios below to show how the Save-Data feature can be used beyond its primary capability:
What if the image is the most important piece of the content, and you don’t want to sacrifice the quality even when the connection is slow?
In that case, you can add a save-data=off query parameter to the API. For example:
https://pixboost.com/api/2/img/http://www.midday.coffee/assets/banner.jpg/optimise?auth=MTA0ODU5NDA0NQ__&save-data=off
What if you don’t want to show the image at all?
You can use save-data=hide query parameter in that case and the image API will return an empty image:
https://pixboost.com/api/2/img/http://www.midday.coffee/assets/banner.jpg/optimise?auth=MTA0ODU5NDA0NQ__&save-data=hide
In developing the support for Save-Data, we tried to follow our principles to deliver the best possible result with defaults while also giving our clients the ability to override them by using extra parameters. We strongly believe that keeping the API simple is one of the main advantages of our service.
Conclusion
When you are running an online shop, accommodation booking system, or any other website, it’s important to make it accessible and inclusive. When we talk about accessibility, it’s not only for people with physical disabilities, but also includes people facing socio-economic restrictions on the bandwidth and speed. Supporting Save-Data header helps us to make the Internet a better place.
Tools like Pixboost Image CDN make it extremely easy to use Save-Data client hint, so you can be sure everyone will feel welcome when they visit your web pages.