Removing Image Borders using API Published on: Jan 14, 2024
In this blog post we’ll talk about a new feature recently added to the Pixboost API - image border trimming.
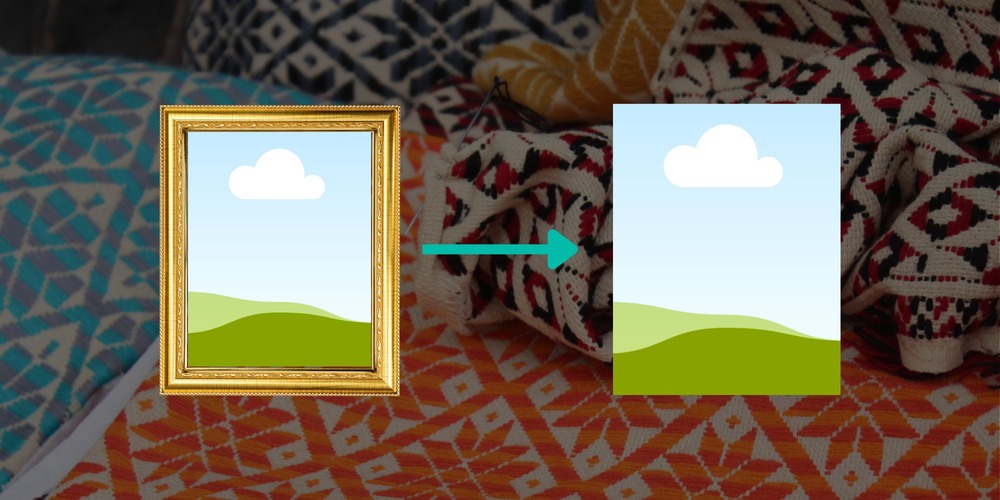
Why Removing Image Borders?
Image borders are the edges of images that share the same color. Turned out that sometimes you’d want to remove them. You might know that we are meticulous about adding new features to the API to make sure it’s easy to use and not overloaded with features.
So, let’s look at the use case. We were helping with the website set up for the iconic DDD Melbourne conference. Every IT conference has sponsors whose logos would usually be showcased on the main page. The images are provided by the companies themselves (3rd party), and we need to lay them out on the page.
The other requirement is sponsors are grouped by levels, so their logos should have a different size depending on the tier. Here is the original markup that I put together:

I put the widths of the images on the right and added lines with gaps between rows on the left. It didn’t look right as some logos look much bigger despite being on below levels! Spacing between rows is another problem.
The width of all the images is set, so why do some of the images look visually bigger than others?
This screenshot with a thin border around the images gives us an answer:

Once we identified the problem, the solution came not long after - let’s get rid of borders on the images before resizing them.
Doing so manually is boring and not much fun, so we added a new API to Pixboost Image CDN!
Automating using Pixboost API
Let’s start with the mechanics of how we removed borders. We take the color of the first pixel and assume it’s a border color. Then we start checking the next pixel and do so till we find the pixel with a different color. We remove all rows and columns of pixels that have only background color in them.
There are 3 endpoints that modify the image:
- optimise - optimising source image
- resize - resizing source image preserving aspect ratio
- fit - resizing source image but fits the result into the given dimension (crop)
We added a new query parameter ?trim-border for all of the above. When it’s specified in the URL, the API will remove a border from the source image.
Things to note is that optimise operation will change the size of the image if the border is trimmed. Resize and fit will return the size requested as they trim the border first before resizing the image.
You can see more examples and how to use the API in the documentation here.
And here is the screenshot of the DDD Melbourne website once updated with borders removed:

Regular note that you’ll find the change in our open source image service on GitHub.
Conclusion
It’s a rare occasion when we decide to add a new feature to the API, but it’s a good one that saves time and makes web development a little bit easier!
Hope you enjoyed the read and we’ll see you soon!